Introduction
This tutorial is intended to get you started with Ajax on EC2, running a complete LAMP stack. For purposes of illustration, I'm using PHP (the 'P' in LAMP), but Python and Perl are other popular choices. I'll take you through three separate demos, in increasing order of sophistication. The third demo will involve Ajax, PHP, and MySQL—three important components of interactive Web-based applications. Note that this tutorial focuses mostly on the mechanics of getting everything to work on EC2. I spend very little time actually explaining how things work—for that I assume you'll read the code to figure it out (in addition to what we go over in class).
I'm assuming that you're already somewhat familiar with EC2 from working with Hadoop; if not, consult my guide for getting started with EC2 for Hadoop. Amazon's EC2 guide is the authoritative resource for answers. In writing this tutorial, I'm running Windows and doing everything in Cygwin (although none of the instructions are OS-specific, so this fact shouldn't matter). In capturing traces of commands running, I use the convention of [...] to indicate places where the output has been truncated.
Let's get started!
Start an Appropriate EC2 Instance
When you start an EC2 instance, you have to specify which AMI (Amazon Machine Image) you want to use. An AMI is essentially a bundle consisting of the OS and additional software. In previous exercises, when you started Hadoop clusters, you were in fact running an AMI with Hadoop. Creating AMIs is a bit complex, but fortunately others have already created AMIs with the LAMP stack pre-configured. We're going to use one of these images.
In case you're curious, you can list all publicly available AMIs with the following command:
$ ec2-describe-images -x all
You'll see a lot of AMIs that are available! Amazon has a site that describes the AMIs. In this tutorial we're going to use an AMI created by rBuilder:
$ ec2-describe-images -x all | grep lamp
IMAGE   ami-c68e6baf    rbuilder-online/lamp-1.2-x86_10187.img.manifest.xml [...]
IMAGE   ami-5c8b6e35    rbuilder-online/lamp-1.3-x86_10419.img.manifest.xml [...]
IMAGE   ami-218a6f48    rbuilder-online/lamp-1.3-x86_10539.img.manifest.xml [...]
IMAGE   ami-8d9772e4    rbuilder-online/lamp-1.3.1-x86_10897.img.manifest.xml [...]
IMAGE   ami-f69a7f9f    rbuilder-online/lamp-1.3.2-x86_11636.img.manifest.xml [...]
IMAGE   ami-f1da3f98    rbuilder-online/lamp-1.3.2-x86_13550.img.manifest.xml [...]
IMAGE   ami-ea43a683    rbuilder-online/lamp-2.0.beta1-x86_15600.img.manifest.xml [...]
IMAGE   ami-e5b85c8c    rbuilder-online/unalamp-0.1-x86_16344.img.manifest.xml [...]
The folks at rBuilder have created very nice AMIs that come bundled with LAMP stack. See this link for a nice description of what exactly is included (in short, lots of goodies). As a note, this image runs the rPath distribution of Linux.
The most recent image at the time of this writing
is ami-f1da3f98, so that's the one we'll use. I'm
assuming you've already generated a keypair (see Amazon's
EC2
guide otherwise). Go ahead and fire up an instance:
$ ec2-run-instances ami-f1da3f98 -k gsg-keypair
You'll also need to authorize network access to your instances:
$ ec2-authorize default -p 22
$ ec2-authorize default -p 80
Find the host name of your instance:
$ ec2-describe-instances
RESERVATION     r-0711cd6e      613871172339    default
INSTANCE        i-0f79d566      ami-f1da3f98    ec2-75-101-216-137.compute-1.amazonaws.com [...]
For me,
it's ec2-75-101-216-137.compute-1.amazonaws.com. Now ssh
into the instance:
$ ssh -i KEY root@ec2-75-101-216-137.compute-1.amazonaws.com
The authenticity of host 'ec2-75-101-216-137.compute-1.amazonaws.com (75.101.216.137)' can't be established.
RSA key fingerprint is ee:29:d9:9a:18:87:8d:98:3a:e6:be:fe:20:ef:6c:5f.
Are you sure you want to continue connecting (yes/no)? yes
Warning: Permanently added 'ec2-75-101-216-137.compute-1.amazonaws.com,75.101.216.137' (RSA) to the list of known hosts.
[root@ip-10-251-66-9 ~]#
Substitute KEY for the path to
your id_rsa-gsg-keypair. Obviously, your host name will
be different. The instance should also have a running Web server. Go
in a browser and navigate to http://EC2INSTANCE/
(substitute EC2INSTANCE with your actual host name). You should
see something like this.
Congratulations, you've successfully started an EC2 instance running a LAMP stack!
Download Demo Files
Below are the files for the three demos. Right click and "Save Link As..." (clicking on the links does nothing since PHP isn't enabled on this Web server).
- test.php: test script to make sure PHP is working
- demo1.html: demo that prints a greeting
- sayHello.php: PHP script that constructs a simple greeting
- demo2.html: demo illustrating synchronous database access (one-click, one-page)
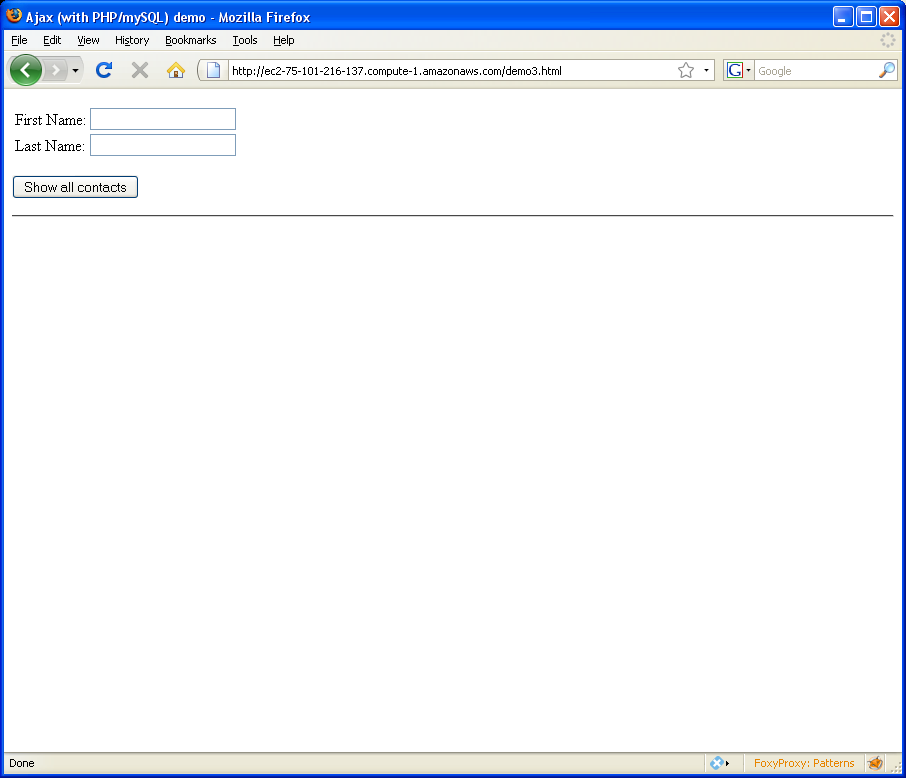
- demo3.html: Ajax version of demo 2
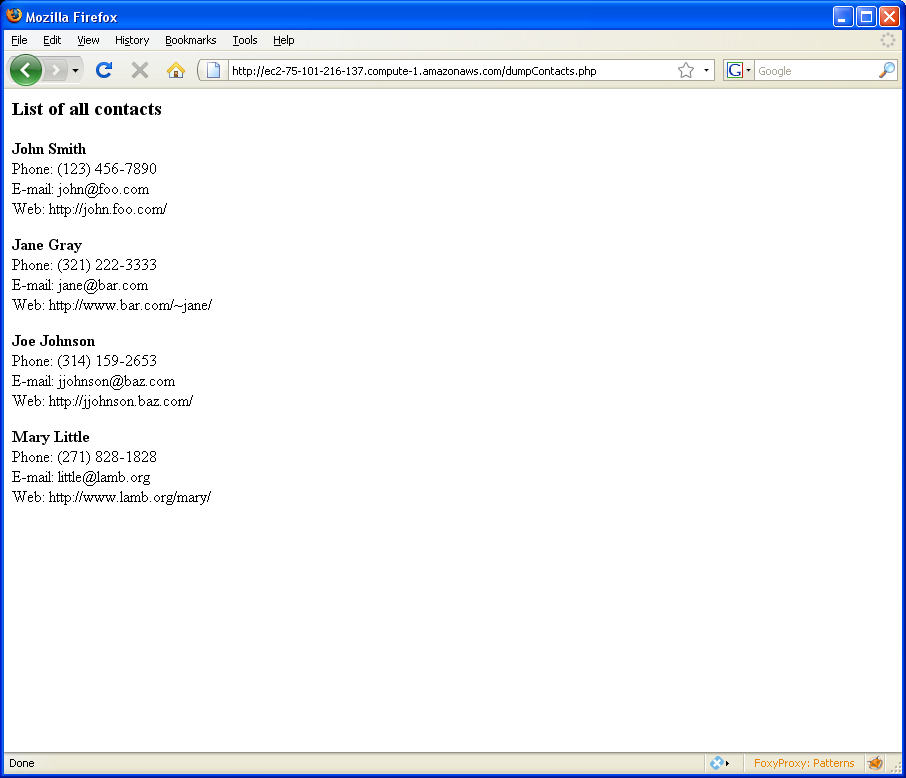
- dumpContacts.php: PHP script for dumping the contents for a MySQL table
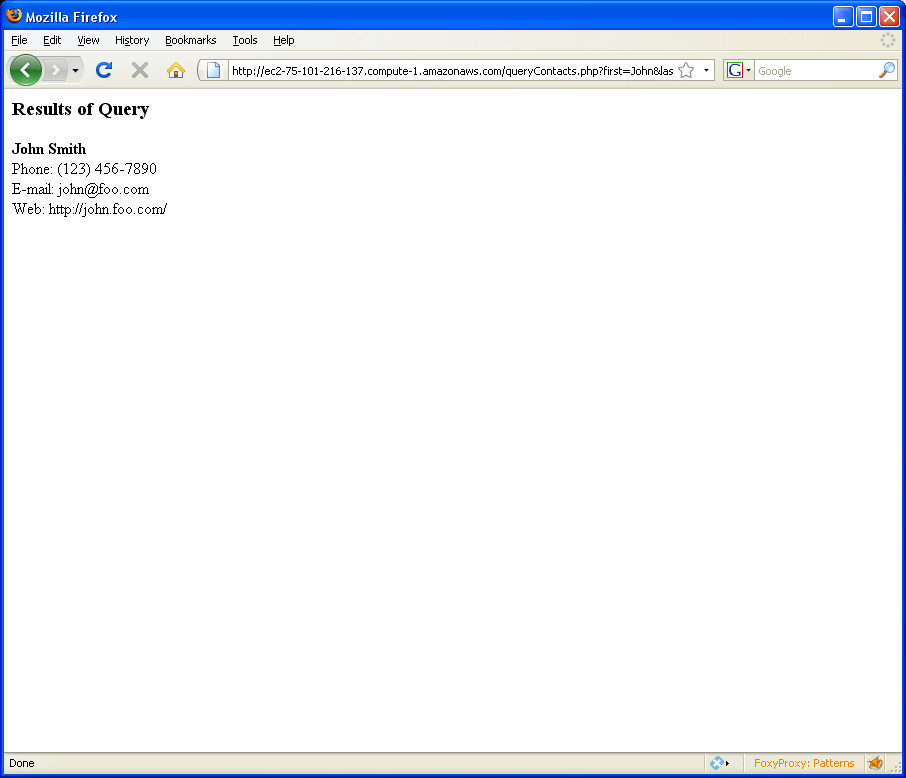
- queryContacts.php: PHP script for querying the contents of a MySQL table
Copy all the demo files over the your EC2 instance:
$ scp -i KEY FILE root@ec2-75-101-216-137.compute-1.amazonaws.com:/srv/www/html
Substitute KEY for the path to your id_rsa-gsg-keypair
and FILE for each of the above files (or an appropriate wildcard
expression). Your website resides in the
/srv/www/html directory on the EC2 instances. Make sure
the files are readable by the world (sometimes permissions get
mangled, especially copying from Cygwin):
[root@ip-10-251-66-9 html]# cd /srv/www/html
[root@ip-10-251-66-9 html]# chmod 644 *.html *.php
[root@ip-10-251-66-9 html]# ls -l
total 36
-rw-r--r--  1 root root 1443 Oct 12 04:13 demo1.html
-rw-r--r--  1 root root  713 Oct 12 04:13 demo2.html
-rw-r--r--  1 root root 2026 Oct 12 04:13 demo3.html
-rw-r--r--  1 root root  738 Oct 12 04:13 dumpContacts.php
-rw-r--r--  1 root root 1799 Dec 10  2006 index.php
drwxr-xr-x  2 root root 4096 Dec  8  2007 lamp
-rw-r--r--  1 root root  909 Oct 12 04:13 queryContacts.php
-rw-r--r--  1 root root  183 Oct 12 04:13 sayHello.php
-rw-r--r--  1 root root   21 Oct 12 04:13 test.php
Demo 1: Ajax with PHP
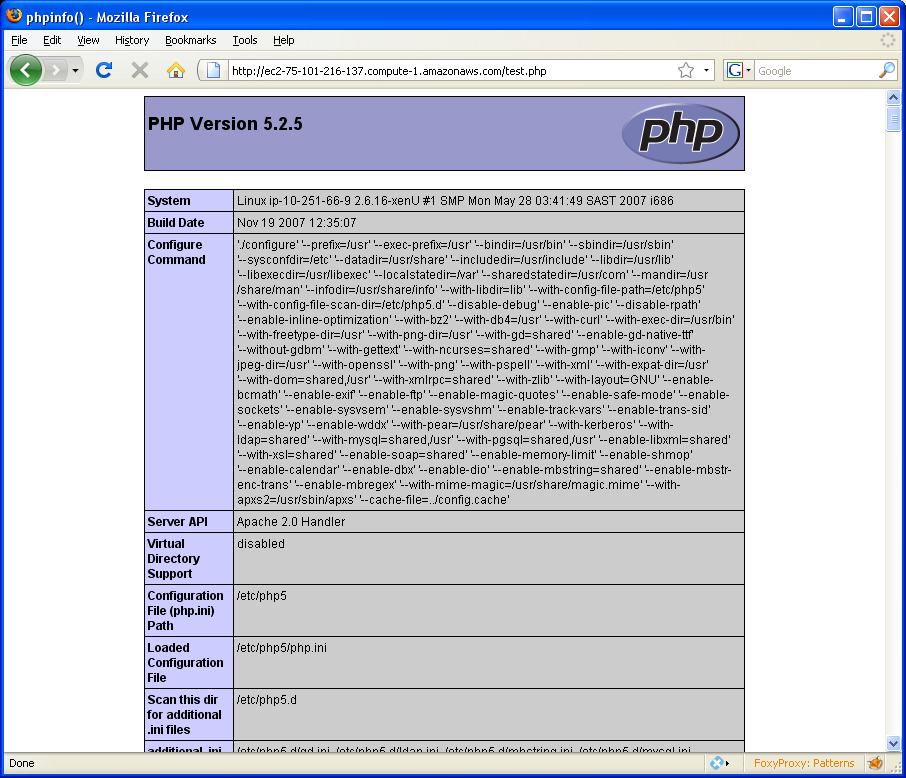
First, let's make sure PHP is working correctly. In the browser,
go to http://EC2INSTANCE/test.php; you should see
something like this test.php
screenshot.
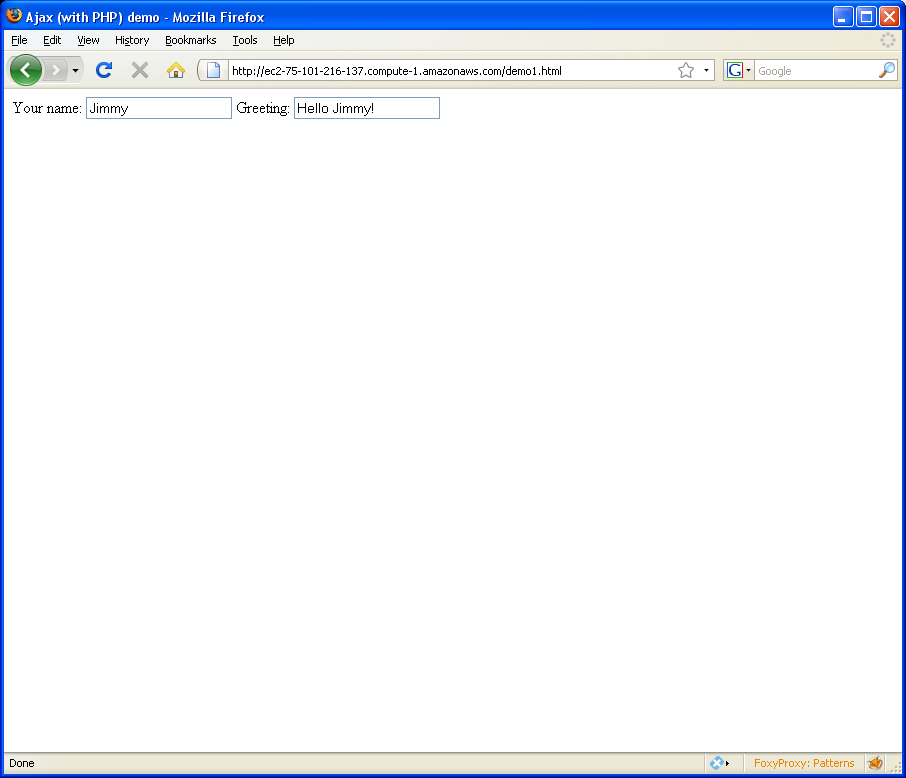
Now go and check out the first Ajax demo. In the browser, go
to http://EC2INSTANCE/demo1.html; you should see
something like this demo 1
screenshot. As you type in your name, this demo constructs
an XMLHttpRequest, calls the sayHello.php
script, which constructs a greeting. This is a pretty trivial use of
Ajax... but it does illustrate how everything is put together.
Let's now move on to something more interesting.
Demo 2: PHP and MySQL
We're moving towards using Ajax with information fetched from a backend MySQL database. To do this, we of course need to populate the database. Below are commands for creating a table in MySQL and inserting four rows—this represents a simple database of contact information.
CREATE TABLE contacts (id int(6) NOT NULL auto_increment,
                       first varchar(15) NOT NULL,
                       last varchar(15) NOT NULL,
                       phone varchar(20) NOT NULL,
                       email varchar(30) NOT NULL,
                       web varchar(30) NOT NULL,
                       PRIMARY KEY (id),UNIQUE id (id));

INSERT INTO contacts VALUES ('','John','Smith','(123) 456-7890','john@foo.com','http://john.foo.com/');
INSERT INTO contacts VALUES ('','Jane','Gray','(321) 222-3333','jane@bar.com','http://www.bar.com/~jane/');
INSERT INTO contacts VALUES ('','Joe','Johnson','(314) 159-2653','jjohnson@baz.com','http://jjohnson.baz.com/');
INSERT INTO contacts VALUES ('','Mary','Little','(271) 828-1828','little@lamb.org','http://www.lamb.org/mary/');
Fortunately, MySQL is already set up in the rBuilder EC2 instance.
Start MySQL, connect to the test database as root and
issue the above commends. You shouldn't need a password to connect to
the database (this is of course terrible practice, but it's okay for a
demo).
[root@ip-10-251-66-9 html]# mysql -u root test
Welcome to the MySQL monitor.  Commands end with ; or \g.
Your MySQL connection id is 3
Server version: 5.0.45 Source distribution

Type 'help;' or '\h' for help. Type '\c' to clear the buffer.

mysql> CREATE TABLE contacts (id int(6) NOT NULL auto_increment,
    ->                        first varchar(15) NOT NULL,
    ->                        last varchar(15) NOT NULL,
    ->                        phone varchar(20) NOT NULL,
    ->                        email varchar(30) NOT NULL,
    ->                        web varchar(30) NOT NULL,
    ->                        PRIMARY KEY (id),UNIQUE id (id));
Query OK, 0 rows affected (0.01 sec)

mysql>
mysql> INSERT INTO contacts VALUES ('','John','Smith','(123) 456-7890','john@foo.com','http://john.foo.com/');
Query OK, 1 row affected, 1 warning (0.00 sec)

mysql> INSERT INTO contacts VALUES ('','Jane','Gray','(321) 222-3333','jane@bar.com','http://www.bar.com/~jane/');
Query OK, 1 row affected, 1 warning (0.00 sec)

mysql> INSERT INTO contacts VALUES ('','Joe','Johnson','(314) 159-2653','jjohnson@baz.com','http://jjohnson.baz.com/');
Query OK, 1 row affected, 1 warning (0.00 sec)

mysql> INSERT INTO contacts VALUES ('','Mary','Little','(271) 828-1828','little@lamb.org','http://www.lamb.org/mary/');
Query OK, 1 row affected, 1 warning (0.00 sec)
Check to make sure the rows have been properly inserted:
mysql> select * from contacts;
+----+-------+---------+----------------+------------------+---------------------------+
| id | first | last    | phone          | email            | web                       |
+----+-------+---------+----------------+------------------+---------------------------+
|  1 | John  | Smith   | (123) 456-7890 | john@foo.com     | http://john.foo.com/      |
|  2 | Jane  | Gray    | (321) 222-3333 | jane@bar.com     | http://www.bar.com/~jane/ |
|  3 | Joe   | Johnson | (314) 159-2653 | jjohnson@baz.com | http://jjohnson.baz.com/  |
|  4 | Mary  | Little  | (271) 828-1828 | little@lamb.org  | http://www.lamb.org/mary/ |
+----+-------+---------+----------------+------------------+---------------------------+
4 rows in set (0.00 sec)
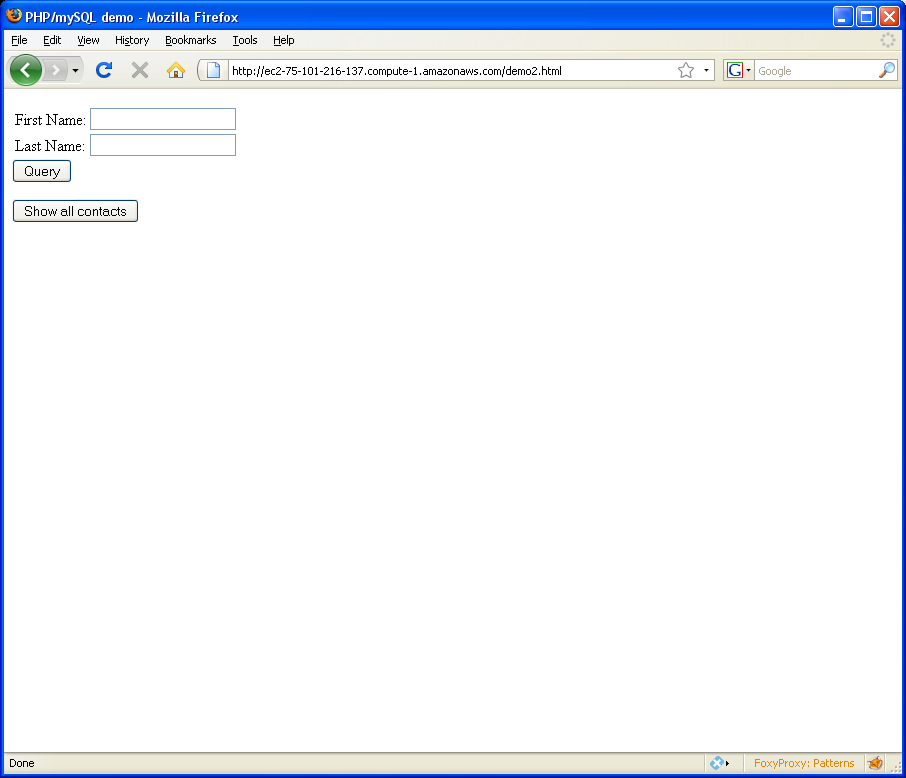
Having populated the database, go
to http://EC2INSTANCE/demo2.html and play with demo 2.
You should see something like what's shown in the following
screenshots.
This is what one might call an "old-school" Web application: one-click leads to a browser reload and a new HTML page. Click... wait. Click... wait some more.
Demo 3: Ajax with PHP/MySQL
Here's the moment we've all been waiting for... go
to http://EC2INSTANCE/demo3.html, which is the Ajax
version of demo 2. You should see something like what's shown in the
following screenshots.
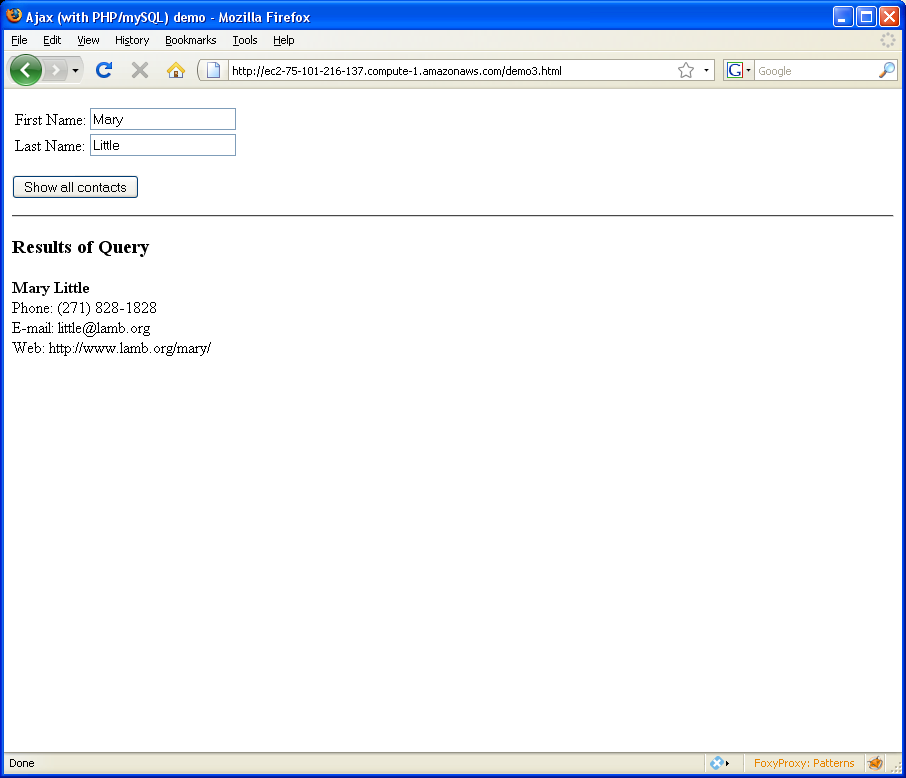
Poke around in the code. You'll see that the demo asynchronously
constructs an XMLHttpRequest object, queries the
database, and populates the bottom of the page with the
result—all without requiring a page reload. This is the essence
of Ajax!
Clean Up
As always, remember to terminate your instances when you are done:
$ ec2-describe-instances
RESERVATION     r-0711cd6e      613871172339    default
INSTANCE        i-0f79d566      ami-f1da3f98    ec2-75-101-216-137.compute-1.amazonaws.com [...]

$ ec2-terminate-instances i-0f79d566
INSTANCE        i-0f79d566      running shutting-down
As a final note, JavaScript programming can get quite tedious, especially when manipulating the DOM. You might want to consider using existing frameworks (libraries) to make your life easier:
- Dojo: really cool set of interface widgets.
- Direct Web Remoting: RPC library for calling server-side Java rom fclient-side JavaScript.
- jQuery: supports chaining of expressions for more concise code.
- Prototype: provides support for more traditional object-oriented programming


